Whether you’re managing a national highway, a commercial car park, or an industrial facility, a well-executed road marking project begins long before the first line is painted. Poor planning leads to premature fading, safety hazards, and expensive rework. At Total System Solution (TSS), we have supplied road marking materials across major CPEC motorways and infrastructure projects across Pakistan since 2009. This guide walks you through every phase, so your markings perform from day one and last for years.
Why Planning Makes or Breaks a Road Marking Project
Road markings are safety infrastructure. A lane divider that fades in three months, a pedestrian crossing that loses retroreflectivity in the rain, or a stop line that chips under heavy traffic — these aren’t just aesthetic failures. They’re liability risks.
Thorough upfront planning allows you to:
- Choose the right paint or thermoplastic material for the surface and traffic load
- Avoid rework caused by incorrect surface preparation
- Stay within budget by estimating materials accurately
- Meet regulatory standards and client specifications
- Schedule work to minimize traffic disruption
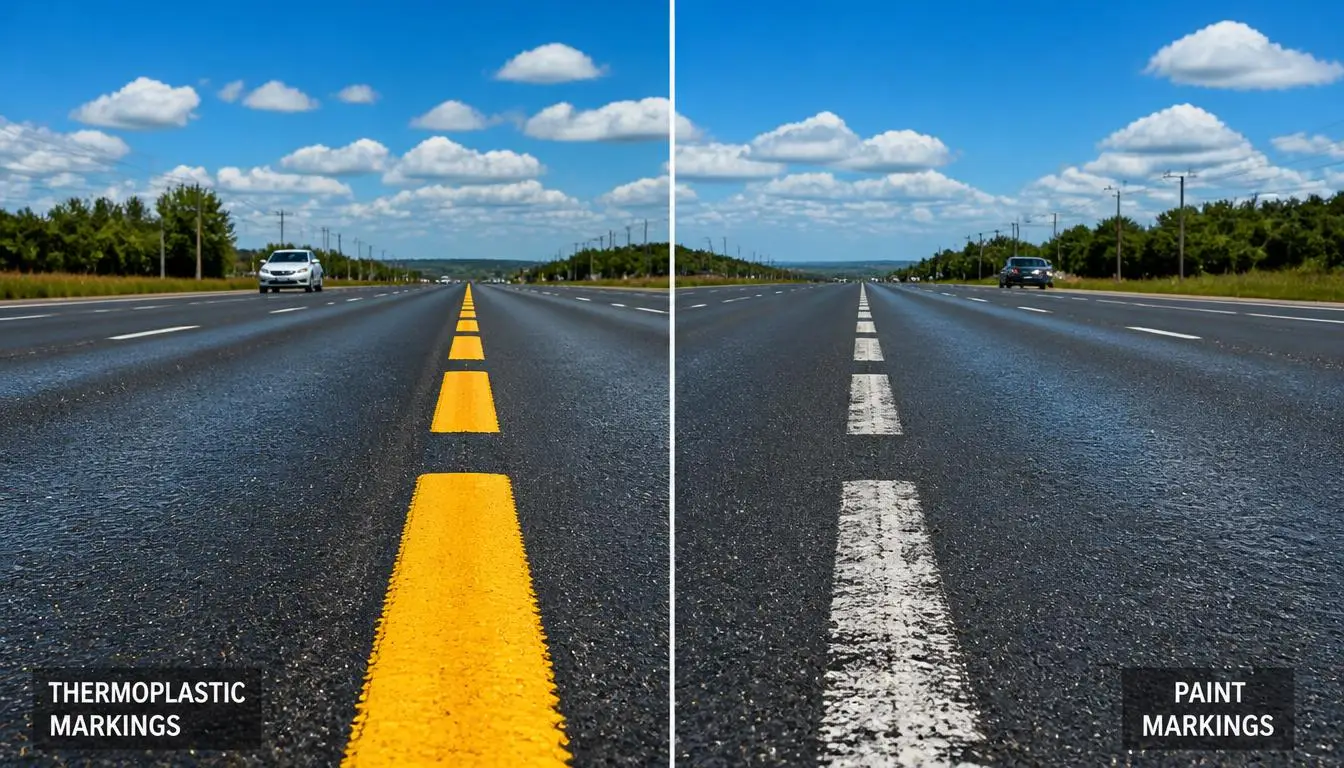
The materials you specify will also directly affect longevity. For instance, Roadex Thermoplastic Paint offers dramatically better durability than standard solvent-based paints on high-traffic roads, but it requires specific application equipment and surface temperatures. Getting this decision right at the planning stage saves significant cost downstream.
Step 1: Conduct a Thorough Site Survey
No two road marking projects are identical. Before selecting any materials or drawing up layouts, a detailed site assessment must be completed.
What to Assess On-Site
- Surface type: Asphalt, concrete, paving stones, and tarmac all respond differently to marking materials.
- Surface condition: Cracks, potholes, oil stains, dust, or moisture will compromise adhesion. These must be addressed before marking begins.
- Traffic volume and classification: A motorway carries a different load profile than a hospital car park. High-traffic zones require thermoplastic or epoxy-based materials.
- Ambient and surface temperature: Thermoplastic materials require a minimum surface temperature for proper fusion. Solvent-based paints have their own humidity and temperature windows.
- Existing markings: Determine whether old markings need to be removed, covered over, or simply refreshed.
- Gradient and drainage: Sloped surfaces and areas prone to standing water may require anti-skid treatment.
Documentation at This Stage
Capture site photographs, surface measurements, and a basic sketch of the layout. Note any obstacles, drainage grates, manholes, kerbing, that affect marking placement. This becomes the foundation of your project brief.
Step 2: Define the Project Scope and Regulatory Requirements
Once you have your site data, define exactly what needs to be marked and to what standard.
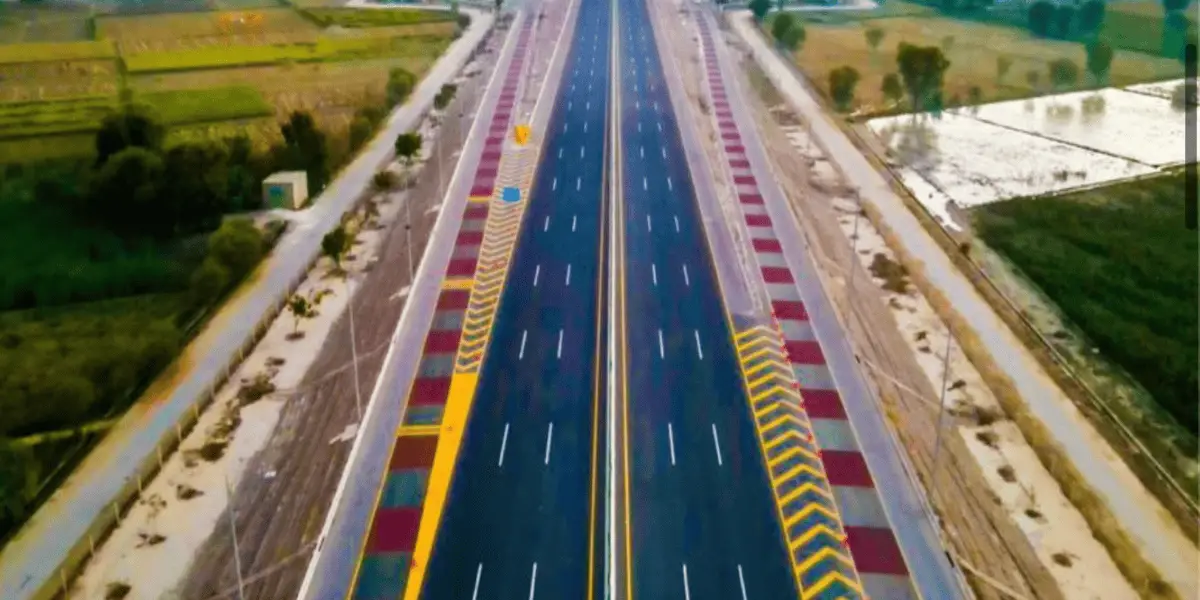
Common Road Marking Elements
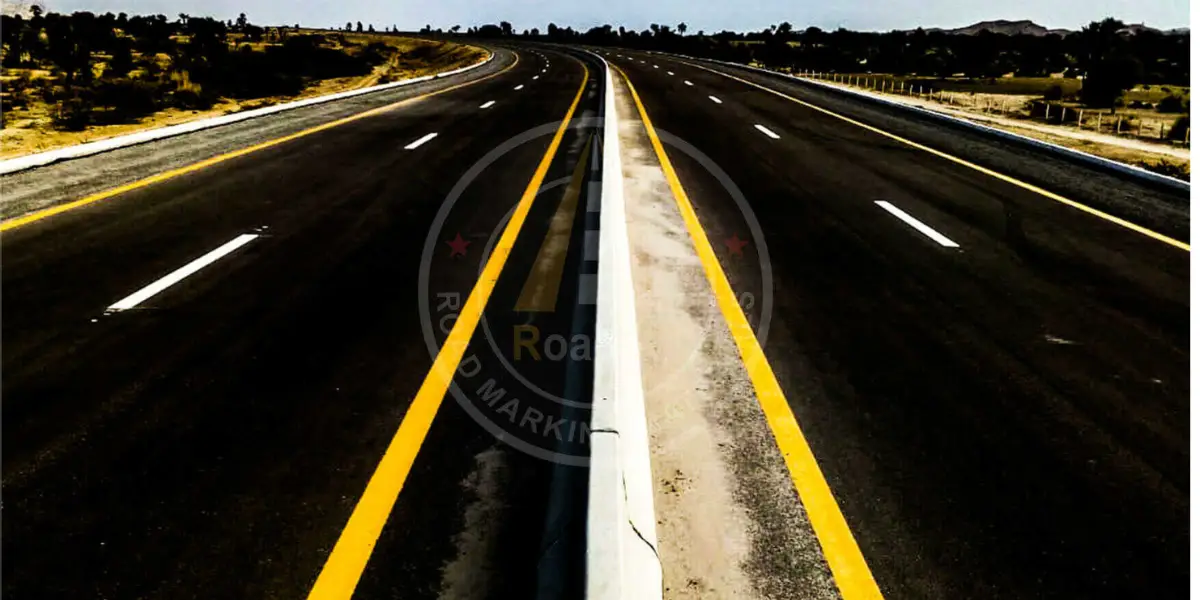
- Lane lines and centrelines
- Edge lines and shoulder markings
- Pedestrian crossings and zebra lines
- Stop lines and give-way markings
- Arrows, symbols, and text (speed limits, bus lanes, no-parking zones)
- Kerbstone painting for visibility and traffic guidance
- Parking bay demarcation in commercial or industrial zones
Regulatory and Client Standards
In Pakistan, road markings on public highways must comply with NHA (National Highway Authority) specifications. Internationally, references include AASHTO, BS EN 1436, and local municipal codes. Confirm which standards apply before finalising your material or layout specifications.
For projects requiring kerbstone delineation, Roadex Kerbstone Paint is specifically formulated for vertical concrete and masonry surfaces, it delivers high opacity and weather resistance that standard road paints cannot match on this substrate.
Step 3: Select the Right Road Marking Materials
This is the most consequential decision in the planning process. Material selection determines durability, retroreflectivity, cost per year of service life, and application method.
Thermoplastic Road Marking Paint
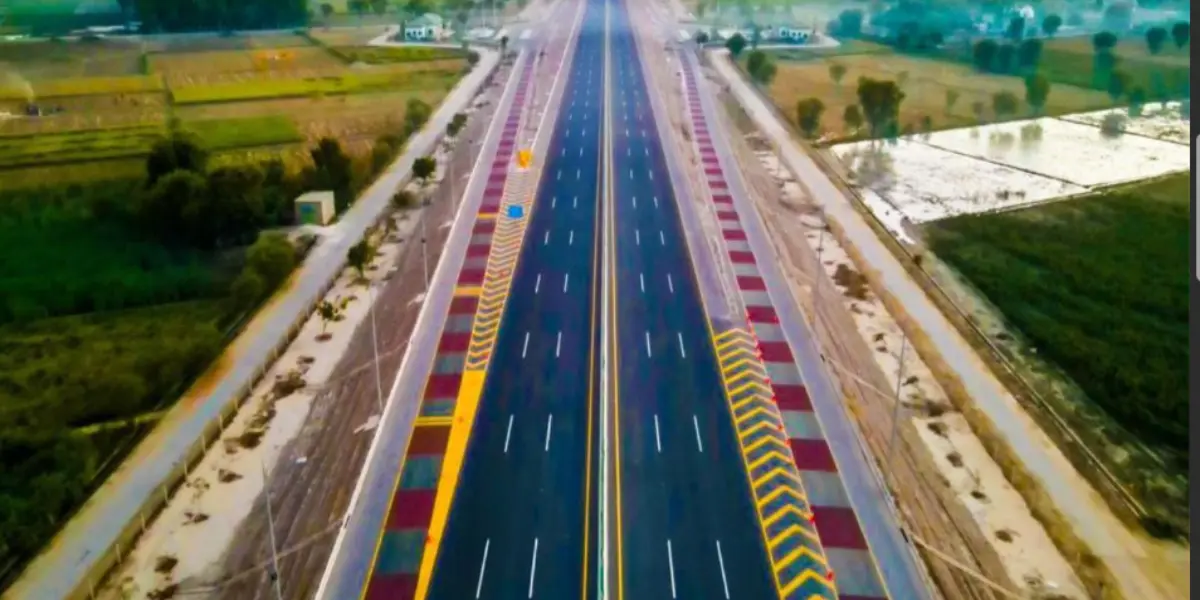
Roadex Thermoplastic Paint (TP) is the industry standard for high-traffic roads, motorways, and long-life applications. It is applied hot (typically at 180–200°C), bonds tightly to asphalt and concrete, and provides a service life of 5–7 years under normal conditions.
Best suited for:
- National highways and motorways
- Intersections with heavy braking and acceleration
- Projects where repainting frequency must be minimised
- Areas requiring raised profile markings (convex/rumble strips)
For projects requiring raised-profile tactile marking, Thermoplastic Convex Road Marking Paint provides an audible and tactile alert to drivers crossing lane lines.
Chlorinated Rubber (CR) Paint
Roadex Chlorinated Rubber (CR) Paint is a solvent-based option suited to lower-traffic areas, car parks, and projects where thermoplastic equipment is unavailable. It offers good chemical resistance and dries quickly.
Best suited for:
- Car parks and pedestrian areas
- Industrial facilities
- Temporary or seasonal markings
- Projects with limited equipment access
Anti-Skid Paint
For pedestrian crossings, bus stops, speed-sensitive zones, and wet-weather hazard areas, Roadex Anti-Skid Paint incorporates aggregate materials that increase surface friction and reduce slip risk significantly.
Water-Based Runway Marking Paint
Airport and airfield projects carry unique requirements. Roadex Water Based Runway Marking Paint is low-VOC, fast-drying, and formulated to withstand jet fuel, aircraft tyres, and pressure washing — requirements that no standard road paint can meet.
The Role of Glass Beads in Retroreflectivity
Night-time visibility is non-negotiable for road safety. Roadex Glass Beads are applied onto wet thermoplastic or paint during application. When headlights hit the surface, the beads return light directly to the driver — a phenomenon called retroreflection. Specify bead type and application rate at the planning stage, as this affects both material quantities and safety outcomes.
Extender Fillers: Chalk Powder and Calcium Carbonate
Thermoplastic formulations typically include fillers. Roadex Chalk Powder and Calcium Carbonate (Coated and Non-Coated) are used to adjust viscosity, improve opacity, and control cost per kg of applied material. Specifying the correct grade ensures consistent mixing and application results.
Step 4: Estimate Material Quantities and Budget
Accurate quantity estimation prevents both shortfalls mid-project and expensive surplus. Work through the following:
- Map all marking zones: Calculate the total linear metres of lines, total area of symbols, and number of pedestrian crossing panels.
- Determine line widths and thickness: Standard lane lines are typically 100–150mm wide. Thermoplastic markings are usually applied at 3–4mm wet film thickness.
- Calculate coverage rates: Each material has a stated coverage rate (m² per kg or per litre). Apply the appropriate rate for your line width and film thickness.
- Add wastage: Typically 5–10% for thermoplastic, 10–15% for paint, to account for material in hoses and applicator waste.
- Factor in glass beads: Bead application rate is typically 300–500g per m² depending on the specification.
- Budget for surface preparation: Any cleaning, crack repair, or old marking removal must be costed separately and may require specialist equipment.
Produce a full bill of materials before procurement. Late-stage material sourcing often results in batch inconsistencies or delivery delays that hold up the entire operation.
Step 5: Plan Equipment, Labour, and Application Method
Thermoplastic Application Equipment
Hot-applied thermoplastic requires a preheating kettle (to melt material to application temperature), a screed applicator or spray applicator, and a bead dispenser. Ensure equipment is calibrated before mobilisation and that operators are trained in temperature control — overheating degrades the material, while under-heated thermoplastic fails to bond.
Paint Application Equipment
Solvent-based and water-based paints are applied via road-marking machines with airless or conventional spray systems. Walk-behind machines suit car parks and small areas; self-propelled machines improve efficiency on long road sections.
Crew Size and Traffic Management
A standard thermoplastic marking crew typically comprises an operator, a guide/spotter, and a traffic management operative. On live roads, you will also need:
- Lane closures or rolling road blocks coordinated with the relevant authority
- Traffic cones, signs, and arrow boards
- A method statement and risk assessment submitted in advance
Schedule night work or off-peak application windows where possible to reduce disruption and improve safety.
Step 6: Prepare the Surface Properly
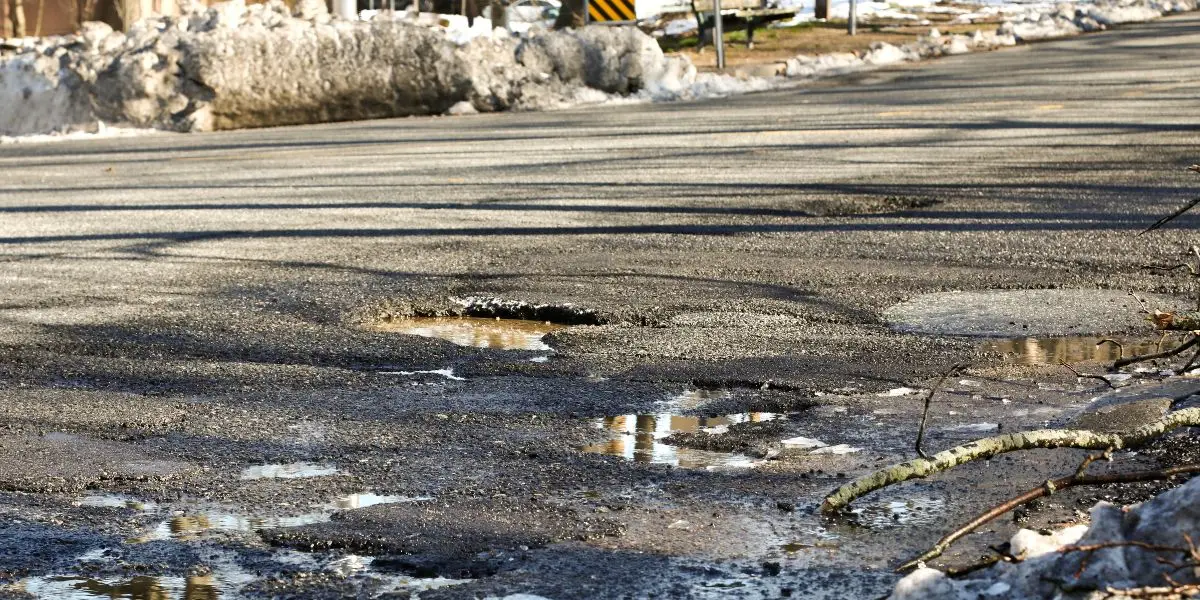
No marking material performs well on a contaminated or unstable surface. Surface preparation is the phase most commonly underestimated — and the most common root cause of premature marking failure.
Pre-Application Checklist
- Clean thoroughly: Sweep and pressure-wash to remove dust, loose material, oil, and rubber deposits.
- Repair defects: Fill cracks and level surface irregularities before application.
- Remove old markings (if required): Grind, blast, or chemically strip old markings that would cause delamination or create a surface profile too high for the new layer.
- Dry completely: Moisture beneath thermoplastic causes bubbling and delamination. Surface must be visually and measurably dry.
- Prime if necessary: Some concrete surfaces benefit from a bonding primer before thermoplastic application, particularly in high-humidity climates.
Allow adequate drying or curing time after any surface repairs before marking begins.
Step 7: Execute the Application
With materials, equipment, and crew in position, execution should follow a methodical sequence:
- Set out the layout: Use chalk lines, string lines, or layout chalk to mark the positions of all markings before applying material. Double-check dimensions against the approved drawing.
- Apply at correct temperature: For thermoplastic, maintain the kettle between 180–200°C. Monitor surface temperature — do not apply if the surface is below 10°C or if rain is forecast within the curing window.
- Maintain consistent speed and pressure: Variation in machine speed causes uneven film thickness and visible line quality issues.
- Drop glass beads immediately: Beads must be embedded into the hot or wet surface within seconds of material application to achieve proper embedment depth (50–60% burial is optimal).
- Apply symbols and text last: Pre-formed thermoplastic symbols can be heat-fused after main line work is complete. Stencil-based paint symbols should follow after the base lines have cured.
- Check wet film thickness: Use a wet film gauge during application to verify thickness meets specification.
Step 8: Conduct Quality Control and Final Inspection
A completed application is not a finished project. Quality verification protects your client relationship and your reputation.
Key Quality Checks
- Retroreflectivity: Measure using a retroreflectometer. Minimum values are typically specified in contracts (e.g., 150 mcd/lux/m² for new markings to BS EN 1436).
- Skid resistance: Test friction coefficient on anti-skid areas to confirm compliance.
- Dry film thickness: Core or gauge DFT on thermoplastic markings to verify specified thickness was achieved.
- Colour and opacity: Visual inspection in daylight and at night. White lines should be visually bright; yellow lines should be saturated and consistent.
- Edge definition: Lines should be straight and clean. Ragged edges indicate applicator issues or incorrect surface preparation.
- Bead coverage: Confirm uniform bead distribution with no bare patches that would create dark spots in headlight reflection.
Compile a post-application report with photographs, retroreflectivity readings, and a signed handover document. This protects all parties and serves as a baseline for future maintenance assessments.
Step 9: Build in a Maintenance Plan
Even the best road markings degrade over time. A maintenance plan extends service life and prevents safety gaps between major refresh cycles.
Maintenance Best Practices
- Schedule periodic retroreflectivity surveys (typically annually on high-traffic roads)
- Identify and remark high-wear zones (braking areas, intersections) before the rest of the marking network requires attention
- Keep records of initial material specifications so refresh applications use compatible products
- Address localised damage — cracking, chipping, delamination — before it propagates
For projects where long-term budgeting is a priority, thermoplastic markings consistently deliver a lower cost per year of service life than paint. The higher upfront material and application cost is offset by reduced refresh frequency. See our comparison in Thermoplastic vs Paint Road Markings for a full breakdown.
Final Thoughts
A road marking project planned properly, from site survey through to post-application inspection, delivers markings that are safe, durable, and cost-effective over their full service life. Shortcuts at the planning stage almost always result in rework costs that far exceed the effort saved.
At Total System Solution, we supply the full range of materials needed for any road marking scope: from Roadex Thermoplastic Paint and Roadex CR Paint to Glass Beads, Anti-Skid Paint, and Calcium Carbonate fillers. Our team has supported projects across Pakistan’s national highway network and CPEC infrastructure. Contact us to discuss your project requirements.
Frequently Asked Questions
How long does a road marking project take to plan?
For a standard road section, planning typically takes 1–2 weeks — covering site survey, material specification, regulatory approval, and logistics. Large motorway projects may require months of pre-mobilisation planning.
What is the minimum surface temperature for thermoplastic road marking?
Most thermoplastic materials require a minimum surface temperature of 10°C and a minimum air temperature of 5°C. Application below these thresholds leads to poor adhesion and early failure.
How do glass beads improve road safety?
Glass beads create retroreflectivity — they return vehicle headlights directly back to the driver, making markings visible at night and in rain. Roadex Glass Beads are graded to international standards for embedment and retroreflectance performance.
Can thermoplastic be applied over existing paint markings?
Generally, no. Thermoplastic over paint markings creates a weak bond at the paint-to-road interface, causing delamination under traffic. Old paint should be removed before thermoplastic application unless a detailed adhesion test confirms compatibility.
What road marking material is best for wet or slippery areas?
For areas with slip risk, pedestrian crossings, bus stops, approaches to traffic signals — Roadex Anti-Skid Paint incorporates hard aggregate that increases surface friction. This material is recommended wherever stopping distances or pedestrian safety are a concern.
How is retroreflectivity measured on road markings?
Retroreflectivity is measured using a retroreflectometer, which records luminance coefficient values in mcd/lux/m². Learn more about how the technology works in our article on Retroreflective Road Markings.